12 August 2024
Building an Elixir powered WordPress plugin with LiveState

by Chris Nelson
As Elixir developers, when clients approach us with a WordPress project we tend to run the other away. The reality though, is that WordPress powers an immense percentage of websites on the internet. What if we could take an Elixir application and drop it onto a WordPress powered website? What kind of doors would open up for us? I recently decided to do an experiment to see how difficult it would be to take on this challenge. I’ll start with this disclaimer: I’m primarily an Elixir developer: I’ve learned enough WordPress to get this example working, no more :) However, the results were encouraging enough to want to share them.
WordPress Blocks and Web Components
In more recent versions of WordPress, the editing system is powered by something called WordPress Blocks, aka Gutenberg. Blocks allow a developer to define the markup, css, and javascript that gets added to a wordpress page as well as the editing experience for a given block. The documentation and tooling for creating them is mature enough to be usable by developers with no prior WordPress chops like this one :)
LiveState is a project that, among other things, makes it really easy to build a Web Component (custom HTML element) that connects to a stateful Phoenix channel back end. Because WordPress blocks are made to edit and render chunks of HTML, putting these two technologies together works out pretty well.
Our example: a LiveState powered <chat-room> element
For this example, we’ll take a simple example of a LiveState powered Web Component: a <chat-room> custom element, and build a WordPress Block plugin that lets us drop it into a WP site. I’m not going to go through the basics of LiveState here, as I’ve done that a good bit elsewhere. To learn more about LiveState itself, it’s probably best to start with the project README which links to various tutorials, documentation, and conference talks. Simply though, LiveState provides a stateful channel to a front end that renders state and sends events back over the channel.
Here’s the code for our chat room channel:
defmodule ChatRoomWeb.ChatRoomChannel do
  @moduledoc false

  use LiveState.Channel, web_module: ChatRoomWeb
  alias Phoenix.PubSub

  @impl true
  def init("chat_room:" <> room, _params, _socket) do
    PubSub.subscribe(ChatRoom.PubSub, "chat_messages:#{room}")
    {:ok, %{messages: [], room: room}}
  end

  @impl true
  def handle_event("send_message", message, %{room: room} = state) do
    PubSub.broadcast!(ChatRoom.PubSub, "chat_messages:#{room}", message)
    {:noreply, state}
  end

  def handle_message(message, %{messages: messages} = state) do
    {:noreply, state |> Map.put(:messages, [message | messages])}
  end

end
It’s kinda the hello world of LiveState channels. In our case, the state we provide is a list of messages and the event we handle is a send_message event. When we receive a message, we broadcast to all connected channels. When a channel receives a broadcasted pubsub message (from itself or another process), it creates a new state with the message appended, which will cause all of the front end code to receive the new state and re-render. By using Phoenix PubSub, we ensure that all users connected to the channel will see messages as they arrive. To keep it simple, we’re not trying to persist messages or send previous messages to newly connected clients.
Front end code you say? In our case, we’ll create a custom HTML element called <chat-room>. Here’s what it looks like:
import { LitElement, html } from "lit";
import { connectElement } from 'phx-live-state';
export class ChatRoomElement extends LitElement {
static properties = {
url: {},
room: {},
messages: {
type: Array,
attribute: false
}
}
connectedCallback() {
super.connectedCallback();
connectElement(this, {
url: this.getAttribute('url'),
topic: `chat_room:${this.getAttribute('room')}`,
properties: ['messages'],
events: {
send: ['send_message']
}
})
}
get messageElement() {
return this.shadowRoot.querySelector('textarea[name="message"]');
}
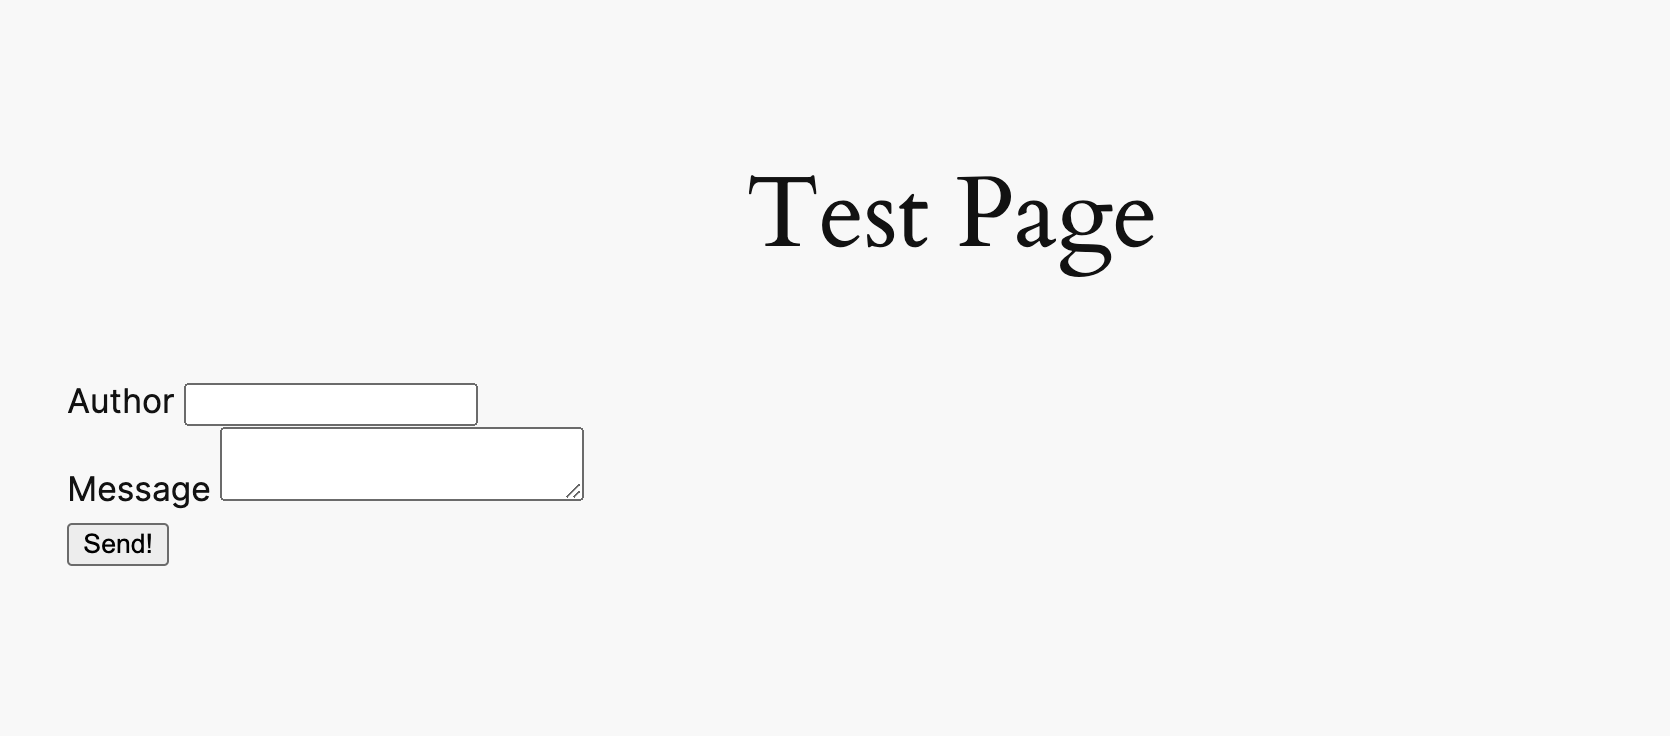
render() {
return html`
<ul>
${this.messages?.map(({ author, message }) => html`<li>${author}: ${message}`)}
</ul>
<form @submit=${this.sendMessage}>
<div>
<label>Author</label>
<input name="author" />
</div>
<div>
<label>Message</label>
<textarea name="message"></textarea>
</div>
<button>Send!</button>
</form>
`;
}
sendMessage(e) {
const formData = new FormData(e.target);
const data = Object.fromEntries(formData.entries());
e.preventDefault();
this.messageElement.value = '';
this.dispatchEvent(new CustomEvent('send_message', {detail: data}));
}
}
window.customElements.define('chat-room', ChatRoomElement);
I won’t go into all the details, but the bits that connect the element to the channel are in the connectedCallback where you see the call to connectElement. The options passed in tell LiveState to update the messages property of the element when state changes are received, and push the send_change event back to the channel whenever it is dispatched. The render function displays the updated messages and is called on state changes, and the sendMessage listener function dispatches a send_message event back any time the form is submitted which is then sent to our channel by LiveState.
Importantly for later, the element has two attributes we use to configure it: a url that tells it where to find our server, and a room attribute to allow us to specify which chat room we want to connect to. These room names can be anything, and will be created the first time a user connects to them.
At this point, we have a working, though very simple, chat app. The full code is here. To see it running in phoenix you can start it up and hit /chat_room.
Cool but I thought we were talking about WordPress plugins?
Right you are! Now that we have our <chat-room> element working, we’re ready to get started turning that into a WordPress plugin. More specifically, we’re going to create a Block that allows us to add the <chat-room> element to our site wherever we like, and to specify values for the url and room attributes.
If you’re not already a WordPress developer, the first thing you likely need to do is setup a local dev environment. There are evidently lots of ways to do this, but the approach I found easiest was to install WP Studio. I’m running it on a mac, but allegedly it supports windows too.
Once you’ve got a local WP environment up and running you are ready to start building a block. Most everything I’m going to cover next I learned from a tutorial in the official WordPress documentation, so if you want to learn how things work at a deeper level that’s where you should start. I’ll walk through only what we need to do to create a block for our <chat-room> element.
We’ll want to start in the wp-content\plugins directory of your local wordpress site. The easiest way I’ve found to get there is to choose VSCode from the “Open in…” section of WP studio. Once you’re there, we’ll use the create-block tool to scaffold our block:
npx @wordpress/create-block@latest chat-room
After this command finishes, cd into the chat-room directory that gets created for your plugin. The first thing we’ll need to do is install the packages that our <chat-room> element depends on:
npm i lit phx-live-state
Next, we’ll copy the element into our plugin directory. We could also publish it as an npm and bring it in that way, but we’ll keep it simple for now and just copy the file in as src/chat-room.js. At this point, we should be able to make our custom element appear when our block is used. To do this, we’ll need to make changes to two of the files in our plugin, src/view.js and src/save.js. The src/save.js is what controls the markup that gets generated when our block is used by a page. To add our <chat-room> element, we’ll edit the save function as follows:
export default function save() {
	return (
		<chat-room url="ws://localhost:4000/live_state" room="from_wordpress"></chat-room>
	);
}
We’ve hardcoded the attributes to get started, but this should be enough to let us drop a chat room on a page. However, we still need to make sure the element is defined in the browser. To make this happen, we’ll need to import it in src/view.js:
import './chat-room';
Now that we’ve made our changes, we need to get our plugin building. We do that by running the following in the chat-room plugin directory:
npm start
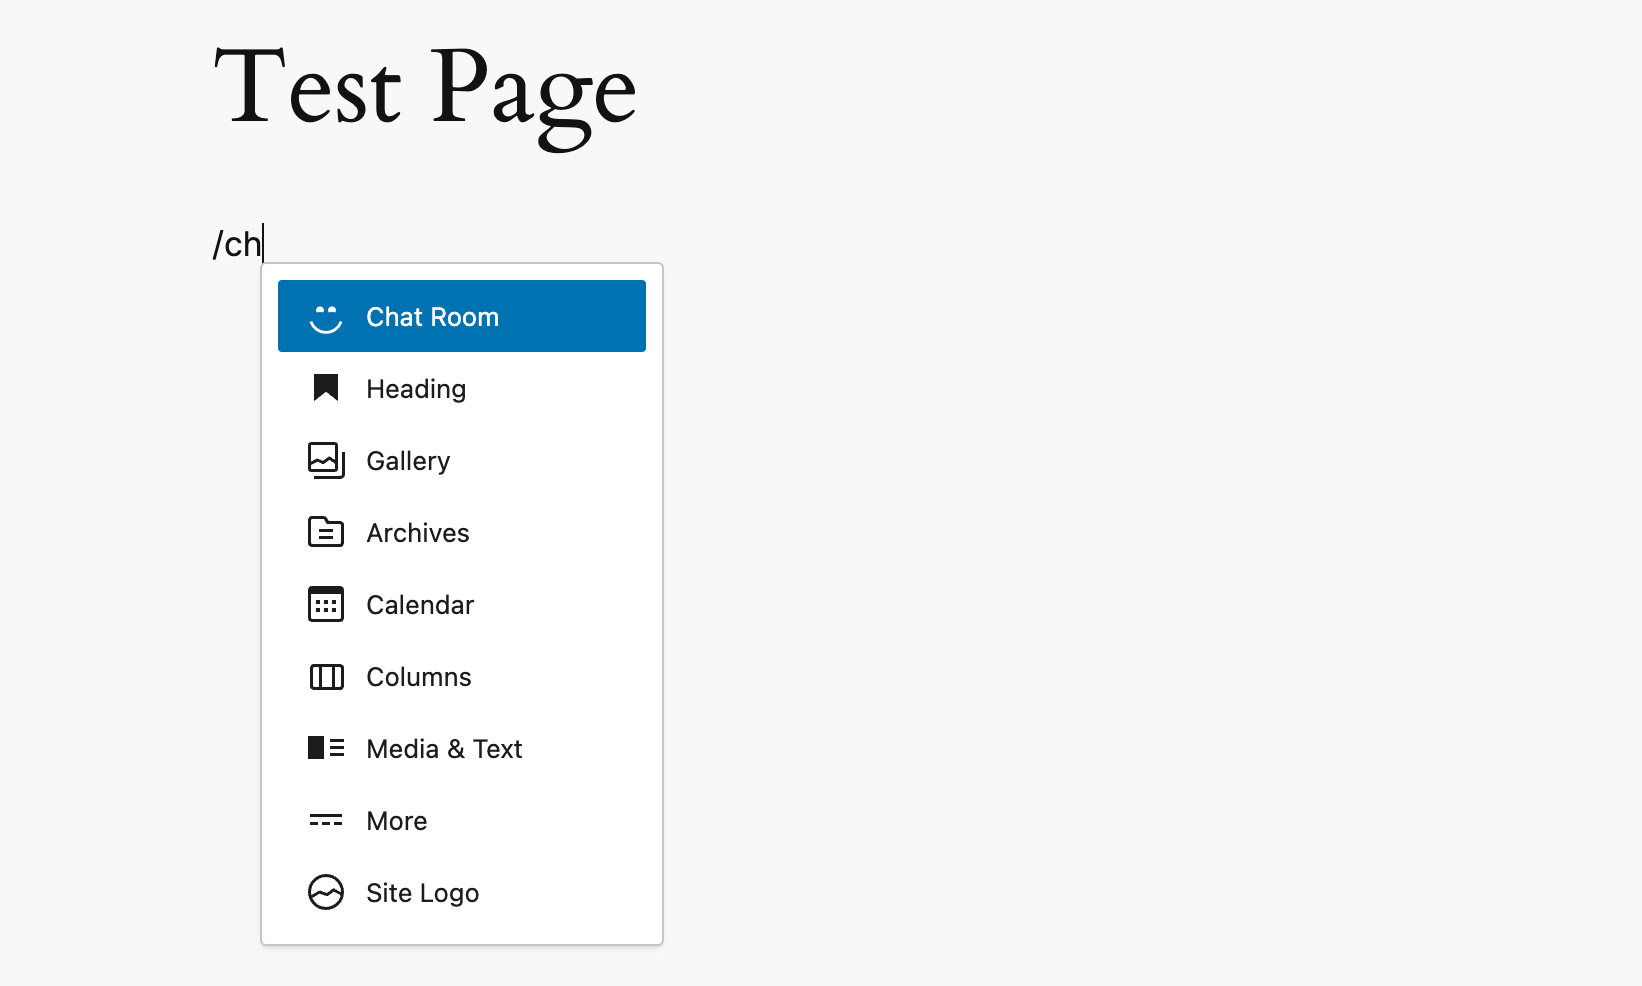
Finally, we are ready to try it out. We’ll need to go to the plugins section of the wordpress admin and Activate the chat_room plugin. It might give you a message about updating this plugin, you can ignore that, it just means WP is getting our plugin confused with the “official” chat_room plugin. Next, we are ready to add it to a page. If you create a new page, you should be able to see a chat_room block available:
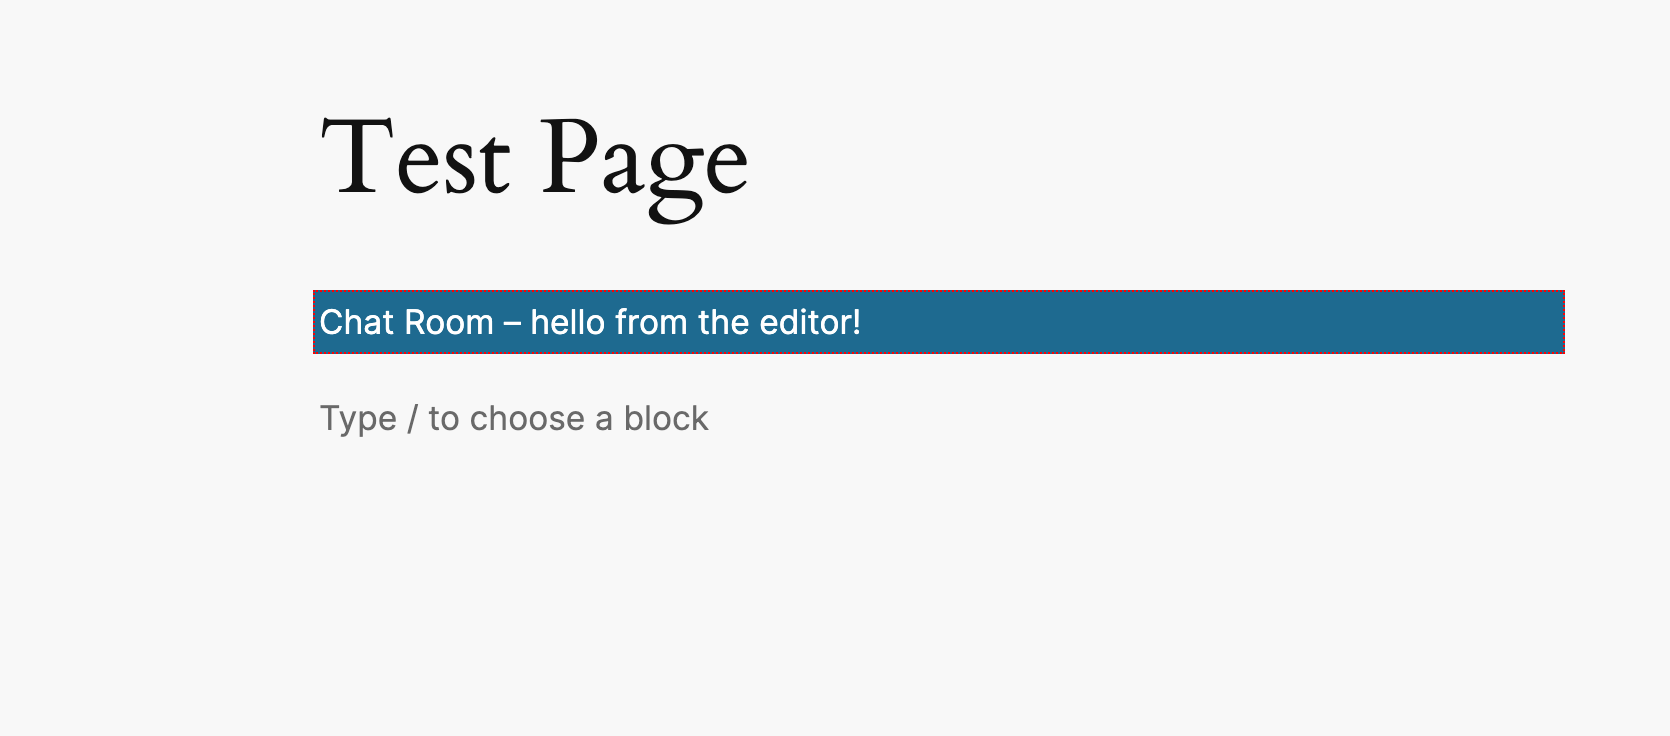
Adding the chat_room block in the editor will display the Edit view of the plugin, which (for now) just displays a generic “Hello from the editor” message:
When we save the page, either as a draft or publishing it, we should see our chat element appear and connect to our elixir backend:
Editing our attributes
That’s great! Now we just need to allow the user of our blocks to specify the values of the url and room attributes of our <chat-room> element. To do that, we’ll leverage a WP block concept called, conveniently, attributes. WP block attributes are defined in the src/block.json file. We can define our attributes by adding an attributes section to the end of this file like so:
...
  "attributes": {
    "url": {
      "type": "string",
      "source": "attribute",
      "selector": "chat-room",
      "attribute": "url",
      "default": ""
    },
    "room": {
      "type": "string",
      "source": "attribute",
      "selector": "chat-room",
      "attribute": "room",
      "default": ""
    }
  }
}
These define our room and url attributes, both of type string, as attributes of our <chat-room> element. Now that our attributes our defined, we can use them. We’ll want to give our users a way to specify values in the editor, and then use those user specified values in src/save.js. We’ll tackle the editing first. To do that, we’ll make use of some “built in” components that the WP block editor provides. We’ll do our work in src/edit.js:
import { TextControl } from '@wordpress/components';
export default function Edit({ attributes, setAttributes }) {
  return (
    <p {...useBlockProps()}>
      <TextControl
        label="URL"
        value={attributes.url}
        onChange={(val) => setAttributes({ url: val })}
      />
      <TextControl
        label="Room"
        value={attributes.room}
        onChange={(val) => setAttributes({ room: val })}
      />
    </p>
  );
}
Here, we’ve done a couple things. We changed the Edit function to accept some parameters, attributes and setAttributes that let us access the current attribute values and make changes to them, respectively. We’ve imported the TextControl component, and we use it to provide a UI to the user to specify values which we send back to WordPress by calling setAttributes.
For the final piece of the puzzle, we need to use the attribute values in our save function in place of the hardcoded values we used initially. In src/save.js:
export default function save({attributes}) {
	return (
		<chat-room url={attributes.url} room={attributes.room}></chat-room>
	);
}
As in edit, we can define an argument to access the current values of attributes and then use them when we render our <chat-room> element. And viola 🎻! We should have a fully operational chat room plugin. Here’s what it should look like in action:
Yay, us! We’ve now got a functional word press block that drops our <chat-room> element on the page and connects to our chat_room channel on the backend. Thanks for sticking around til the end! The code for all this is in this here repo.