23 March 2023
An Intro to User Story Mapping
We build a story map to kick off nearly every product we build at Launch Scout. And the ones that we haven’t built a story map for, we wish we had! What is a user story map? Simply, a user story map is a tool for building shared understanding. The result is a visualization of the steps taken to complete the users’ goals. More importantly, though, the process of building a story map together builds alignment around what it is we are trying to accomplish for our users. It allows everyone participating to focus on the problem, the users’ goals, and the steps taken to reach those goals, rather than a wishlist of features to build. It enables us to get to the root of the problem and to prioritize building a product that is going to make our users’ lives better.
How do you Build a Story Map?
Before you start
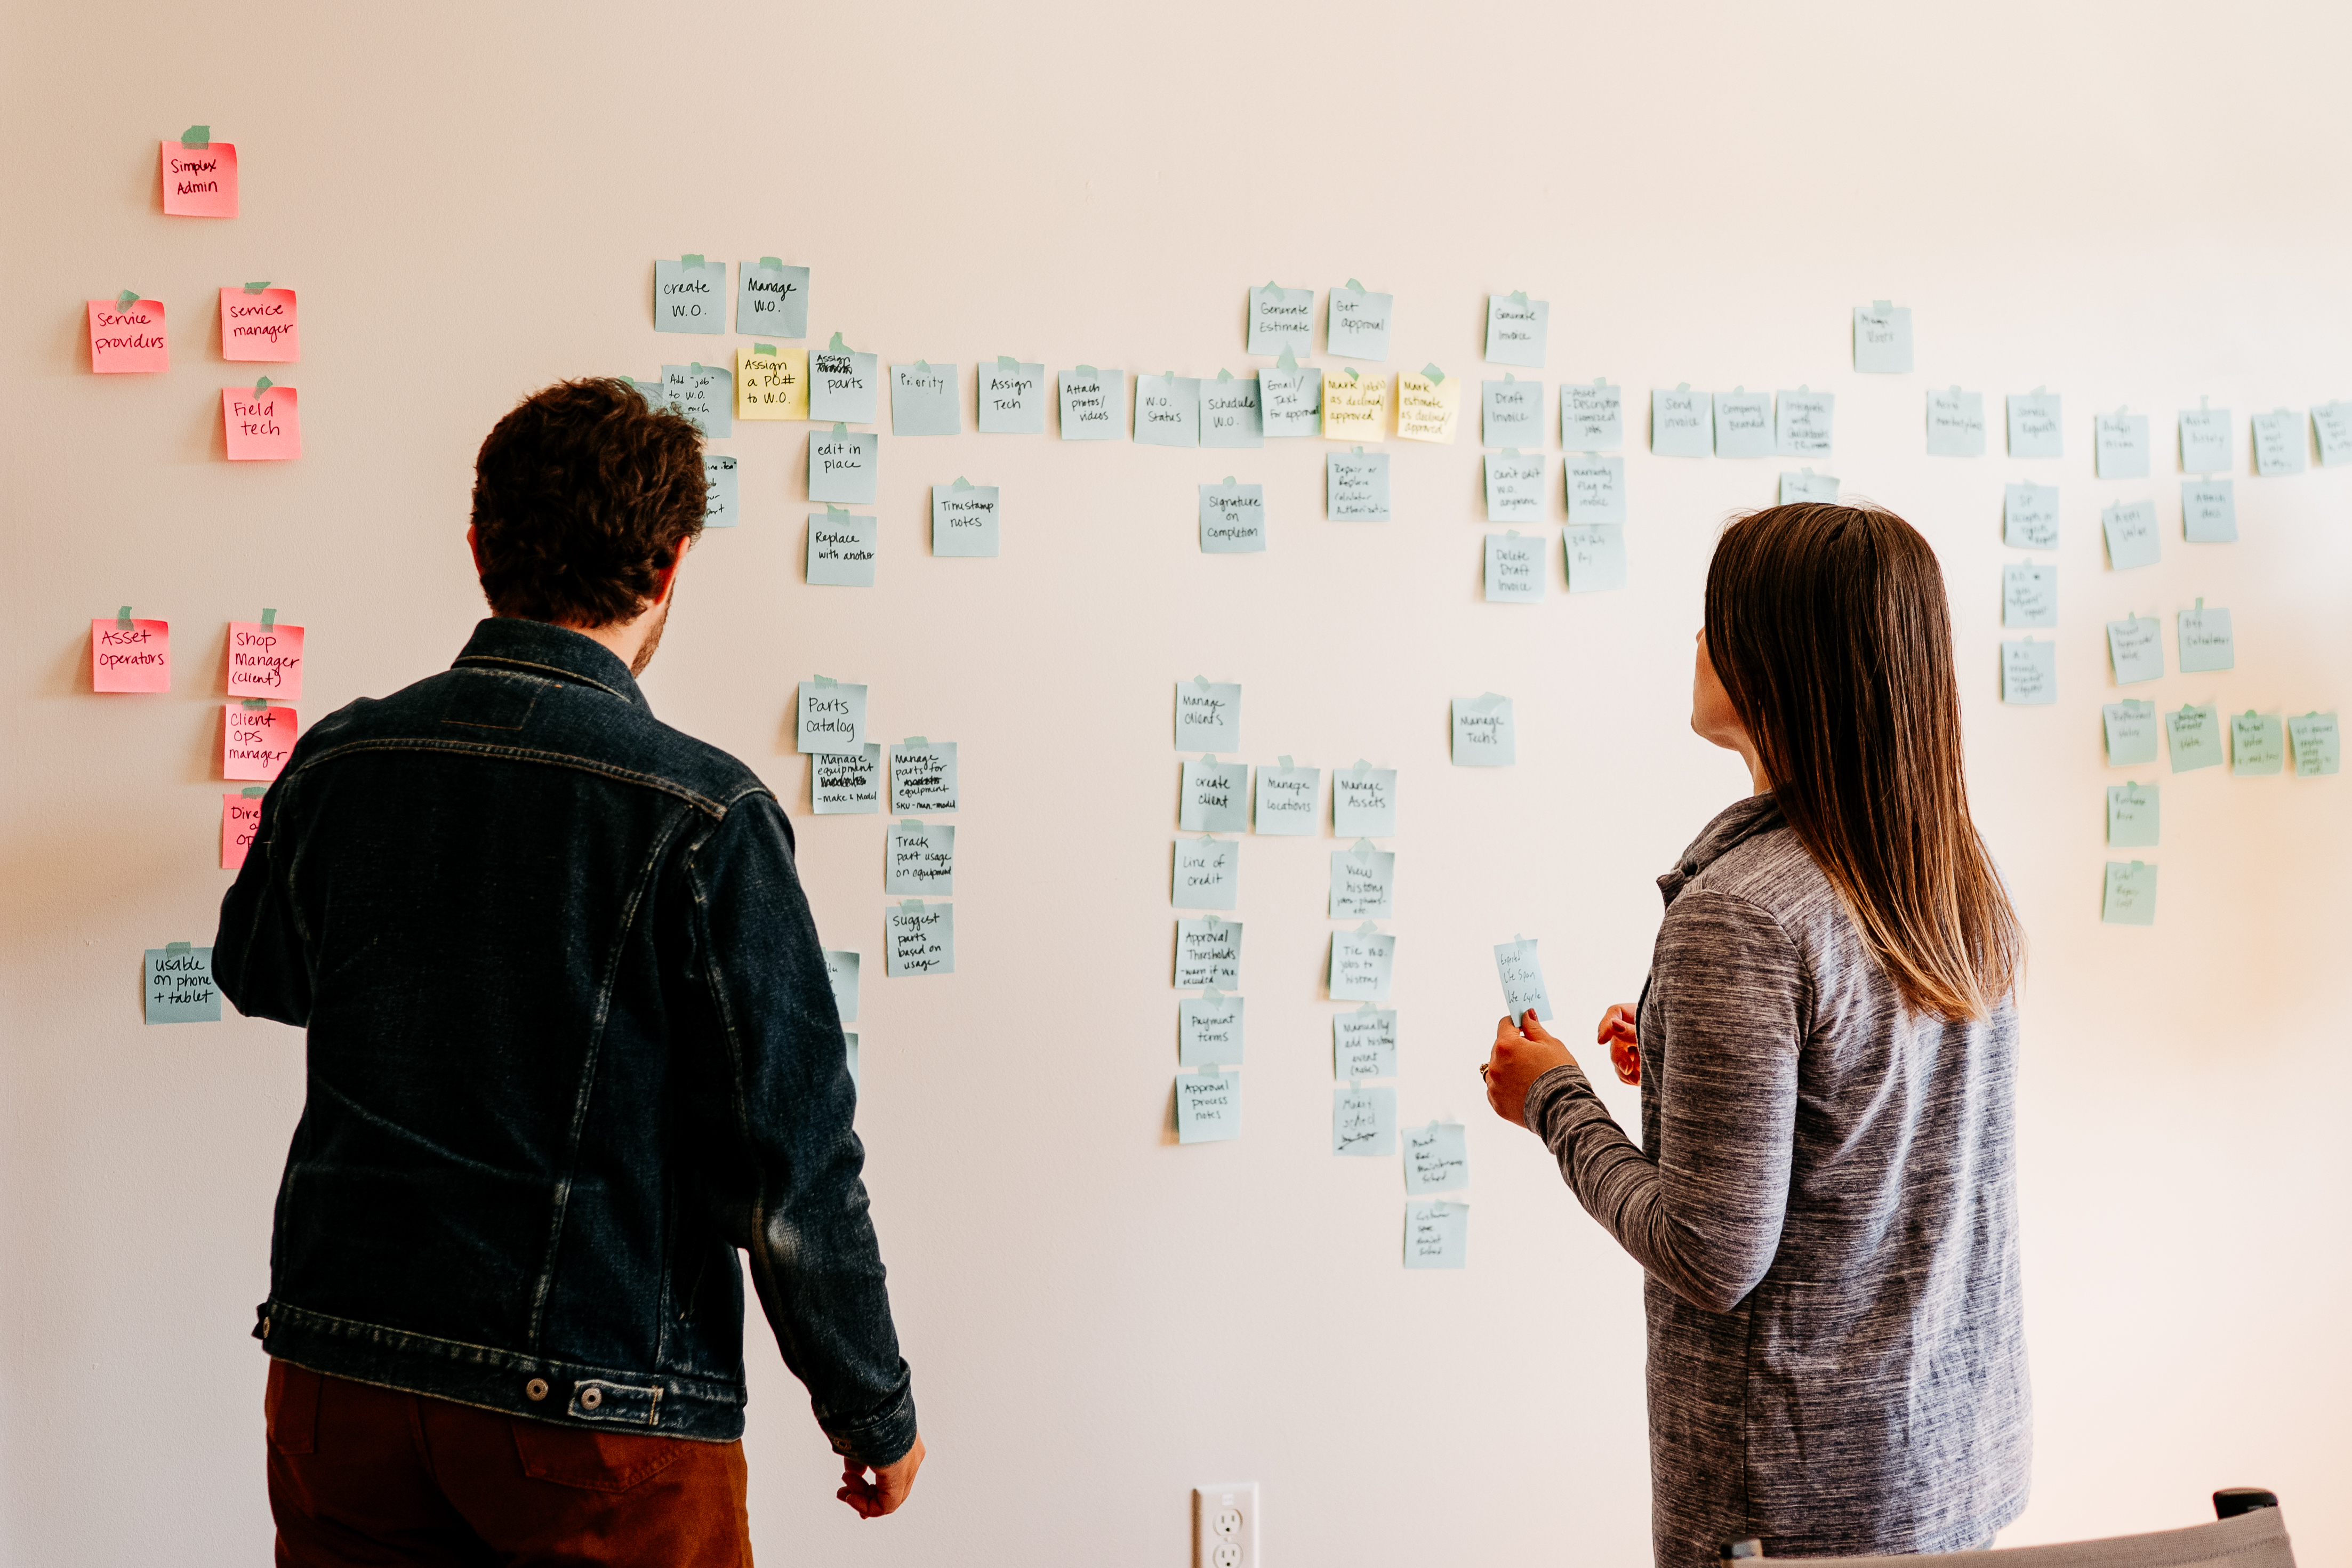
So how do you build a story map? Great question! Before you start, you’ll need to sort out a few logistics. First: get the right people in the same room—physically or virtually. We always try to include the designers and developers who will be building the product, the product owner, any key stakeholders who are intimately familiar with the user problem, or, whenever possible, an actual user. Use your best judgement of who and how many should be in the room. You want to make sure that all voices will be heard and feel comfortable sharing. We’ve found that about 5-8 people is a good number.
Next, decide on your tools. If you’re all in the same room together, grab a bunch of post-its and Sharpies and clear off one of your walls. If you’re together virtually, consider a tool like Figma or Miro that allows for multiple users to work together in the same virtual space.
Last, you’ll need at least a couple hours for this exercise, sometimes longer. We find that after about 2-2.5 hours, people lose steam. If we need more time, we’ll schedule a followup session for another day.
Step 1: Identify user activities
The first step is to focus on your users and what they need to do. We call these activities. The thing to keep in mind is that these activities should not be within the context of a software solution. They should be the activities a user does in real life. Write each activity on a separate card or post it and arrange them in a logical order, horizontally.

Step 2: Map the steps of the user journey
After you’ve captured the activities, walk through the steps the user takes to do each activity. Follow the flow of what a user actually does in this process—it helps to make sure you capture everything. Don’t stress, you don’t have to go overboard, but it helps to be thorough. Often we can identify shortcuts that will optimize the process. Record each step on a separate card or post it and place them in logical order under the activities, horizontally.

Step 3: Capture details for each step
The next step is to outline any details about each step. Again, think of these outside of the custom software you intend to build. What are some special cases that have different details? What’s something really cool that would open up new possibilities? Write each detail on a separate post-it or card and add it below its step, vertically.

Step 4: Prioritize the details
At this point, you should have a full story map! Each detail has a different priority level—some are considered tablestakes, some would be bells and whistles, and others are somewhere in between. Vertically reorganize the details so that the highest priority are at the top of their columns, and lowest priority at the bottom. Keep in mind that we’re not creating a flat, one-dimensional priority list here—we’re prioritizing within the context of a specific activity or step.

Step 5: Split the story map into releases
This is where you’ll organize your story map into what are called releases. A release is just a batch of related user stories that will be worked on together. We like to identify release goals and use them as our release guidelines. And the first release is always the highest priority goal. Once you decide what your first release goal will be, create a horizontal line across your board. Use your release goal as a filtering criteria for which things you allow into your release. If it doesn’t help to accomplish the goal, then move it below the line; if it does, it goes above the line. Once you have your first release organized, you can keep going and organize the rest of the user stories into other releases, or you can wait and come back to the story map after the first release is built—up to you!

What do I do with the Map Moving Forward?
Now your story map is complete! Wasn’t that great? Everyone participating should have a shared understanding of what is going to be accomplished and what the initial focus is. But what do you do with the story map now?
A lot of times, we find it hard to go directly from story map to building software. We’ll typically translate our story maps into workable feature cards. Sometimes that is breaking out a step or user story from the first release into smaller feature cards, adding acceptance criteria, and organizing them into a backlog to be worked. Then we’ll start building from there, following our proven process.
The most important thing to remember, though, is that your story map is not meant to be built and then abandoned. Just as your understanding changes, so should the story map. As you learn more about what your users need to accomplish their goals, have a team conversation and update the story map accordingly. Doing this helps to maintain your shared understanding across the team and to ensure that everyone is working toward the same end goal.
Another important note: the story map is not meant to be an exhaustive document of all the requirements. It’s supposed to serve almost as a prompt for conversation. A common analogy is to think of the story map as you would a vacation photo. The photo itself is not all encompassing, but it helps you to remember your trip—the adventures you had, the smells you smelled, the feelings you felt. A vacation photo can capture a lot for a snapshot in time.
For a deep dive on user story mapping, we recommend reading User Story Mapping: Discover the Whole Story, Build the Right Product by Jeff Patton and Peter Economy. Or, read this blog post by Doug Alcorn.


