5 March 2020
How is solving a Rubik’s cube like working with Gaslight to build your product?

by Kati Best
To start, we’ll give you some context. At our White Elephant gift exchange last year, someone got a Rubik’s cube. Since then, about 10 more people have either bought or brought in a cube and we’re all learning how to solve it. We won’t go into details, but it’s become a slight addiction.
Before we get started, let’s acknowledge the silliness of this. There are other, better ways of solving the Rubik’s cube than we’re learning and yes, they are faster. Projects are nothing like Rubik’s cubes, and working with Gaslight is not like a puzzle. None of that is the point of this article. Let’s just have fun with this and accept it for what it is.
We’re going to alternate between the cube instruction and project talk. Cube talk will be in normal text and project talk will be in italics.
Facts
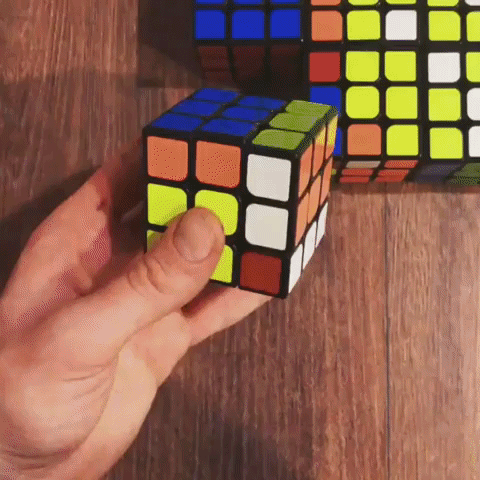
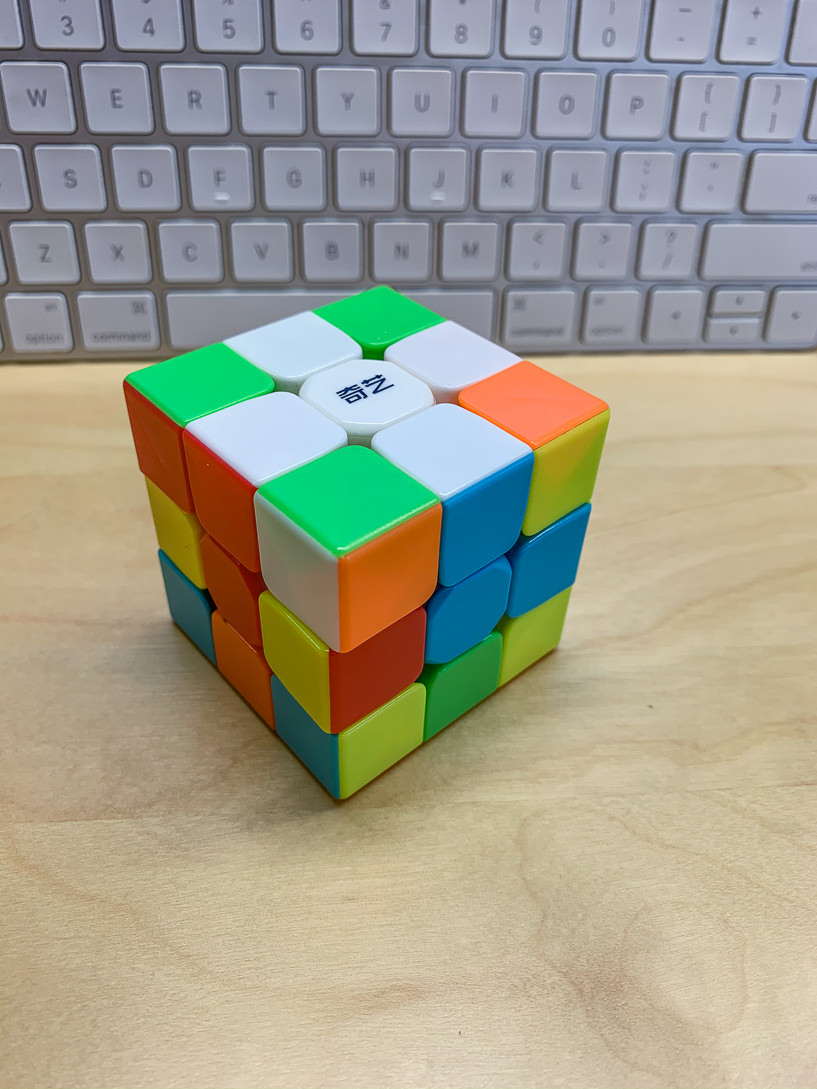
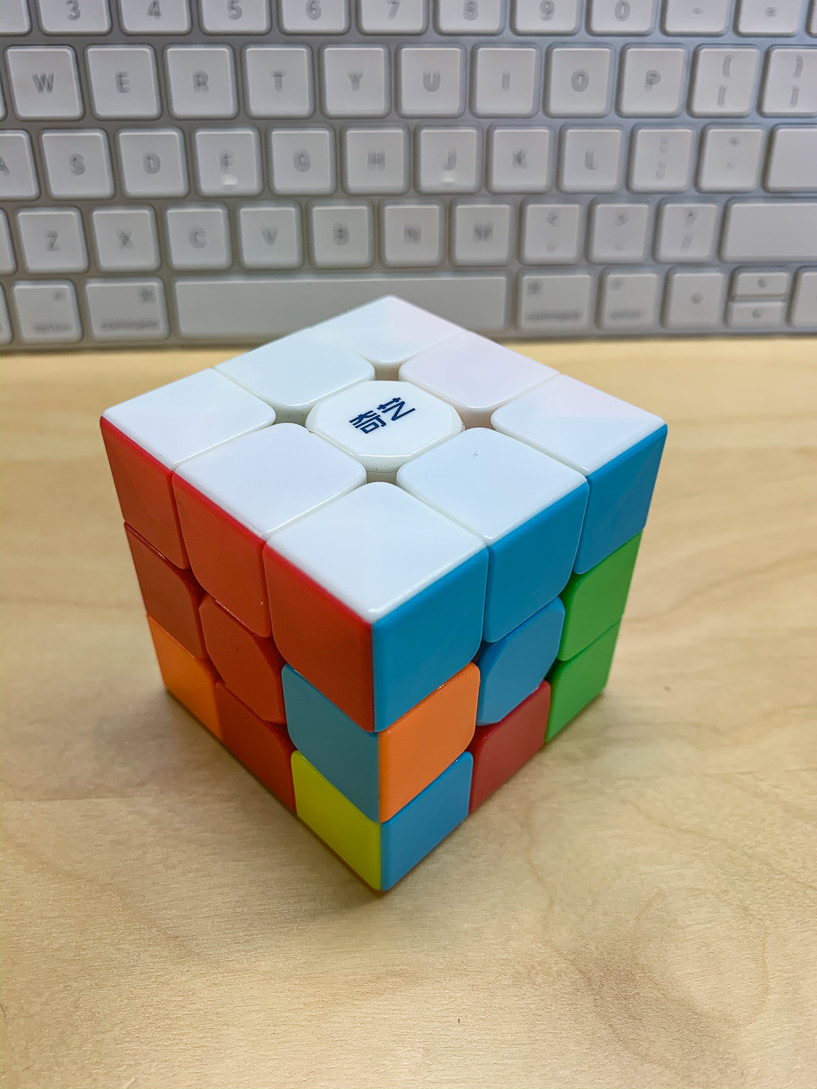
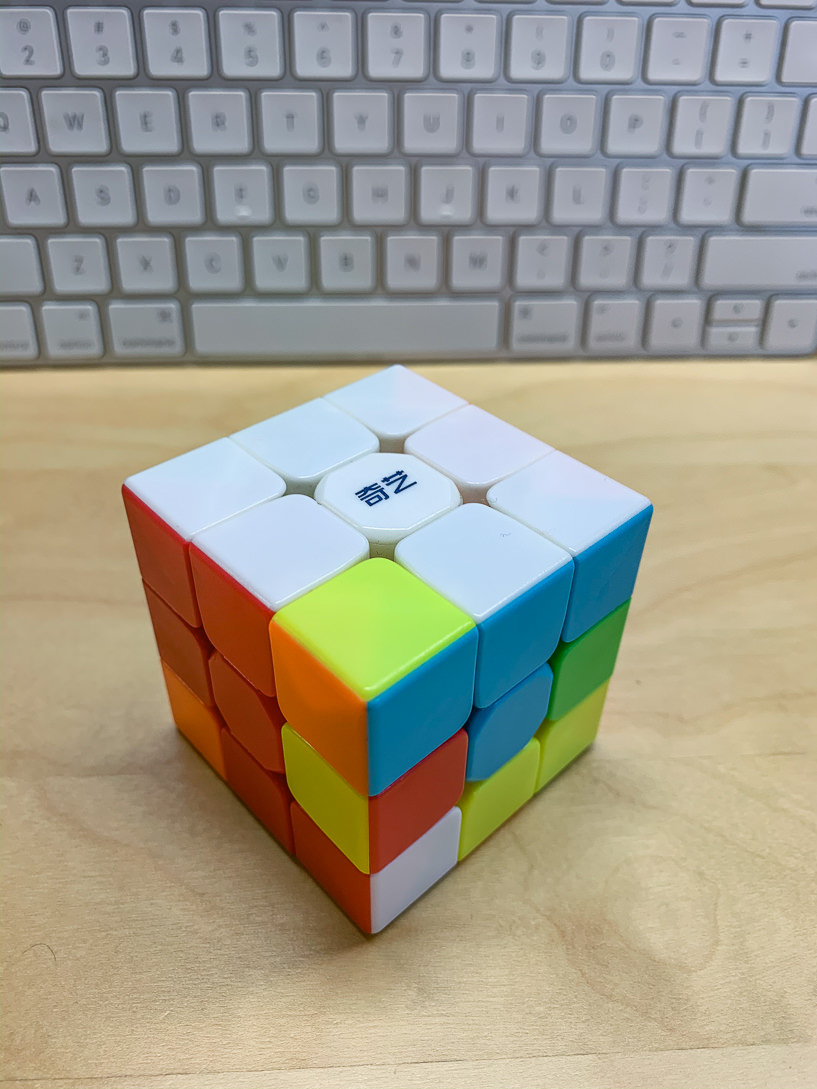
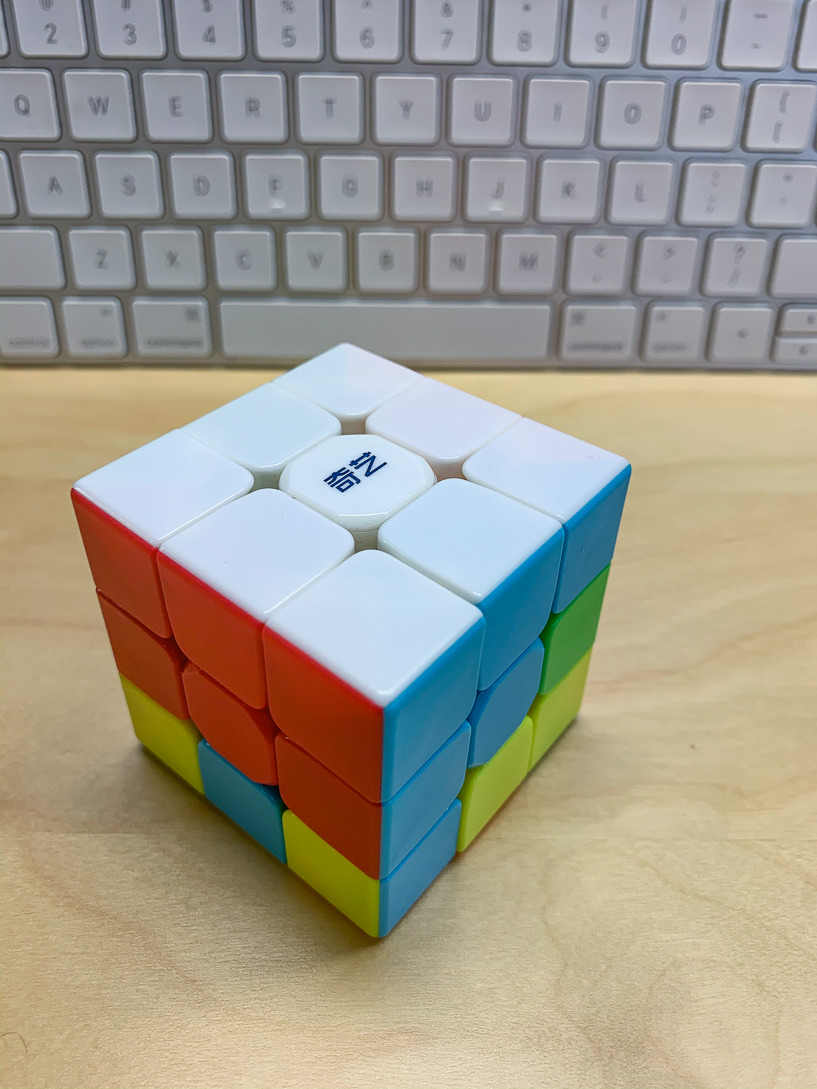
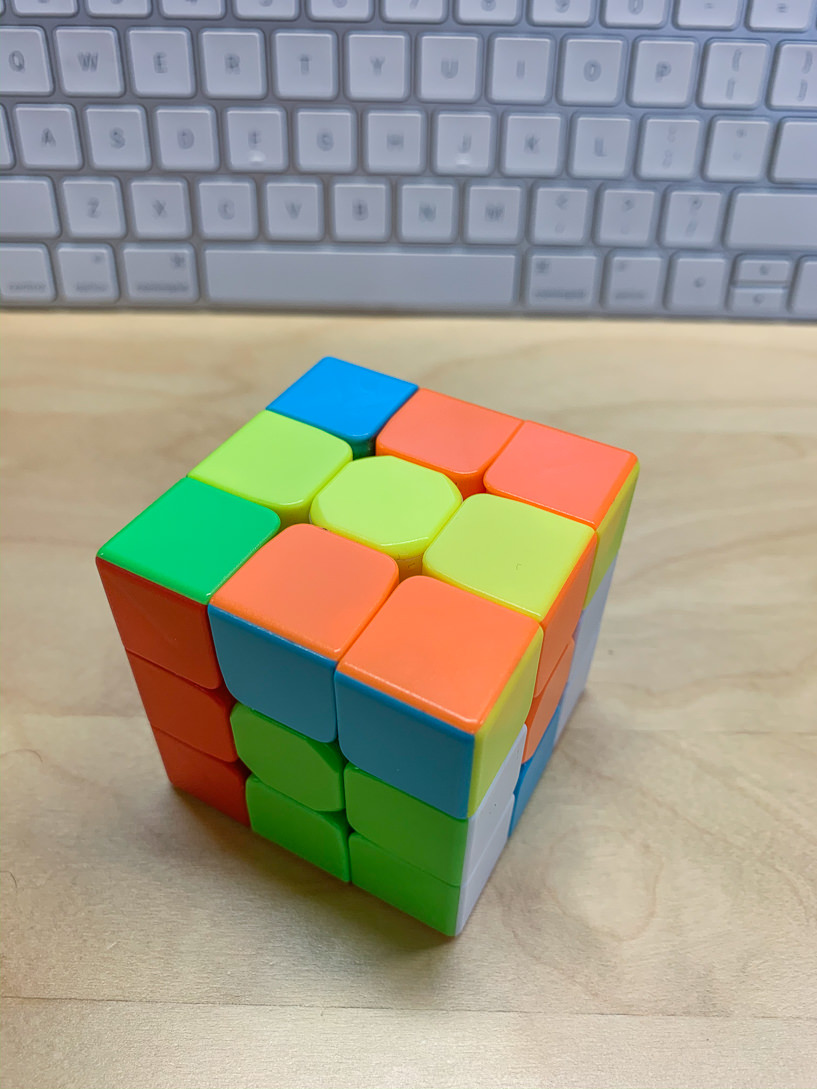
Let’s start by acknowledging the facts. This is a Rubik’s cube. Six different colors, 6 sides, limited movements, constraints, and 1 solution with a lot of ways to get there.
There are a lot of ideas in your head for the app you want to be built. It probably looks a lot like the cube here—tangled up ideas, really cool features that you need, constraints to navigate (budget, time, stakeholders, third-party partners, tools, etc). You know what it’s supposed to look like, but aren’t sure how to get there.
Constraints
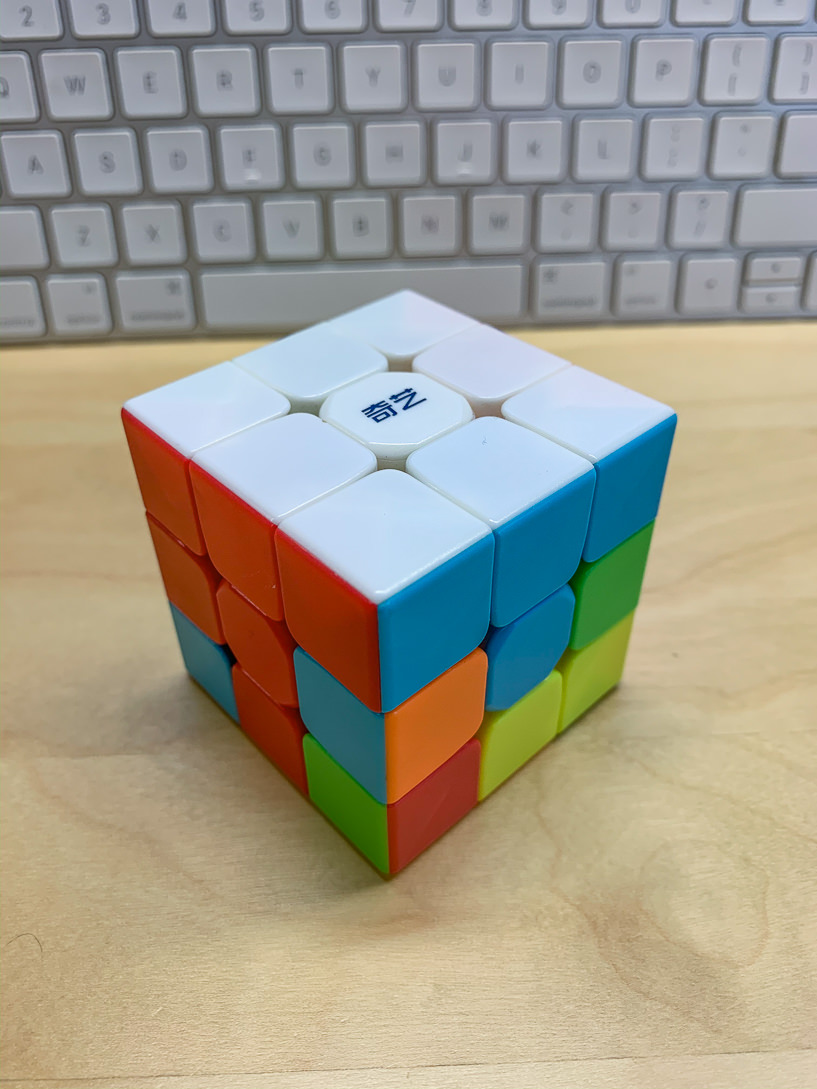
The first thing to do to solve the cube is to notice the facts and constraints around it. First, there are 3 types of pieces: the centers, edge pieces (the pieces that line up between centers) and corner pieces. Second, the orientation of the centers of each side never changes. That means the white side is always opposite the yellow side, the red side is always opposite orange, and blue opposite green. No matter how you twist the sides, this will hold true.
Your project is similar. You have a budget for it, and you’d like to keep it even smaller than that. You want all of those features that live in your mind implemented. It needs to fulfill the purpose of its users and of your business. We have a lot of flexibility in how we twist and turn to reach a solution, but like the cube, it takes a strategy, knowledge, and experience. Random turns for immediate gratification can backfire and mess up previously laid plans.
Alignment
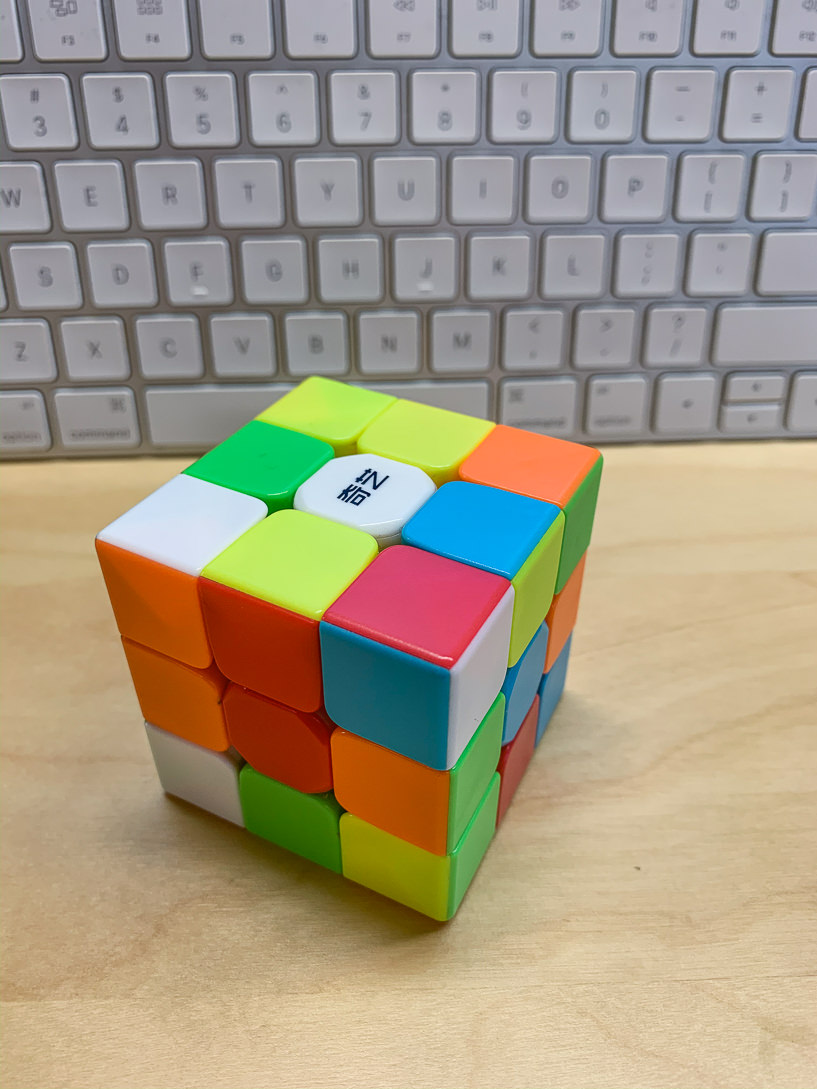
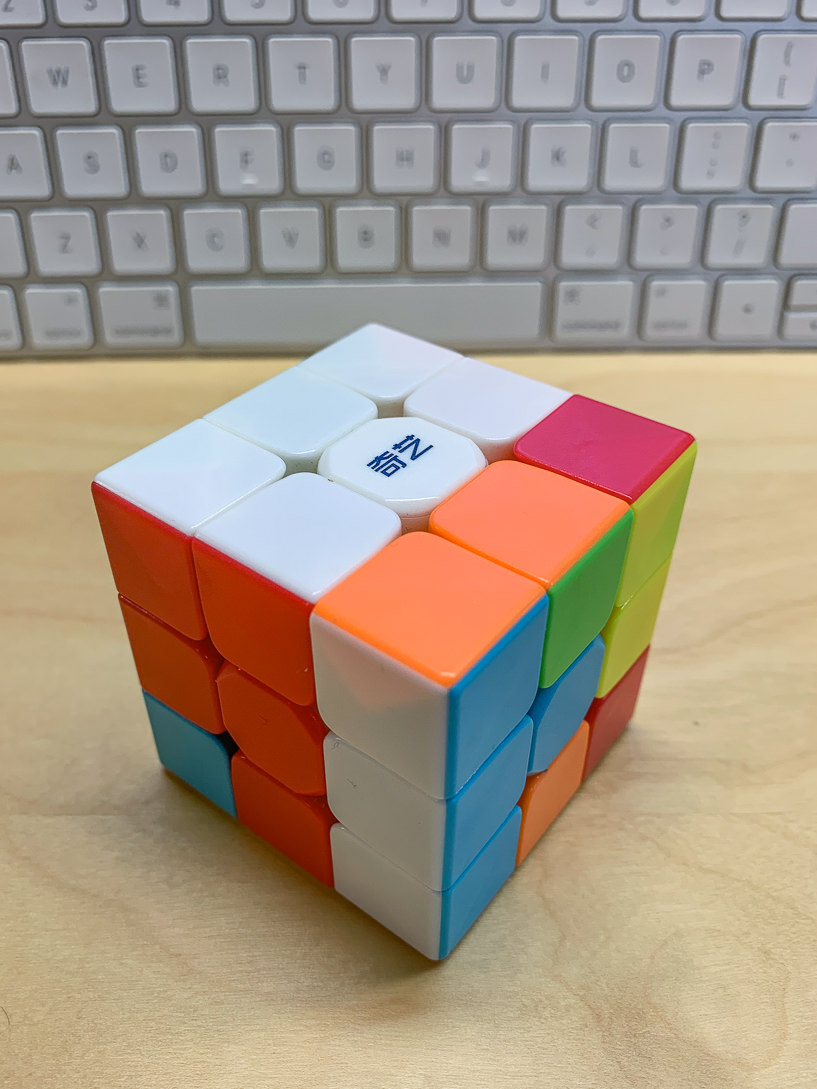
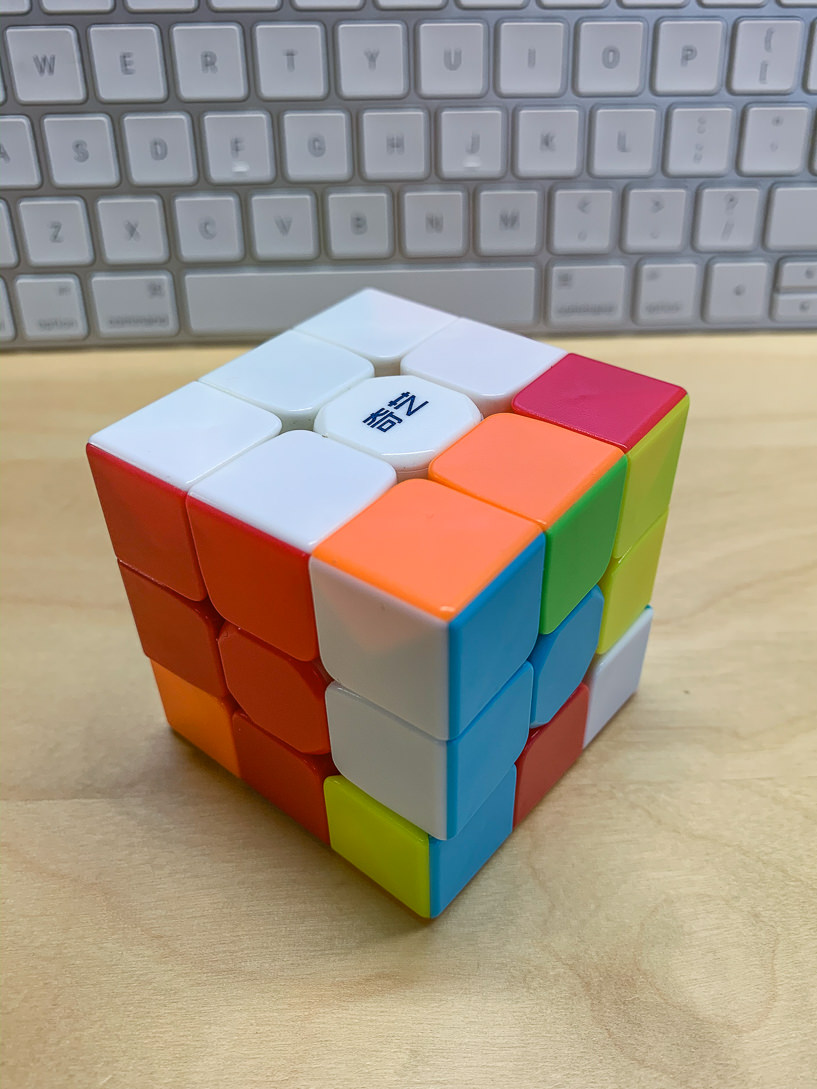
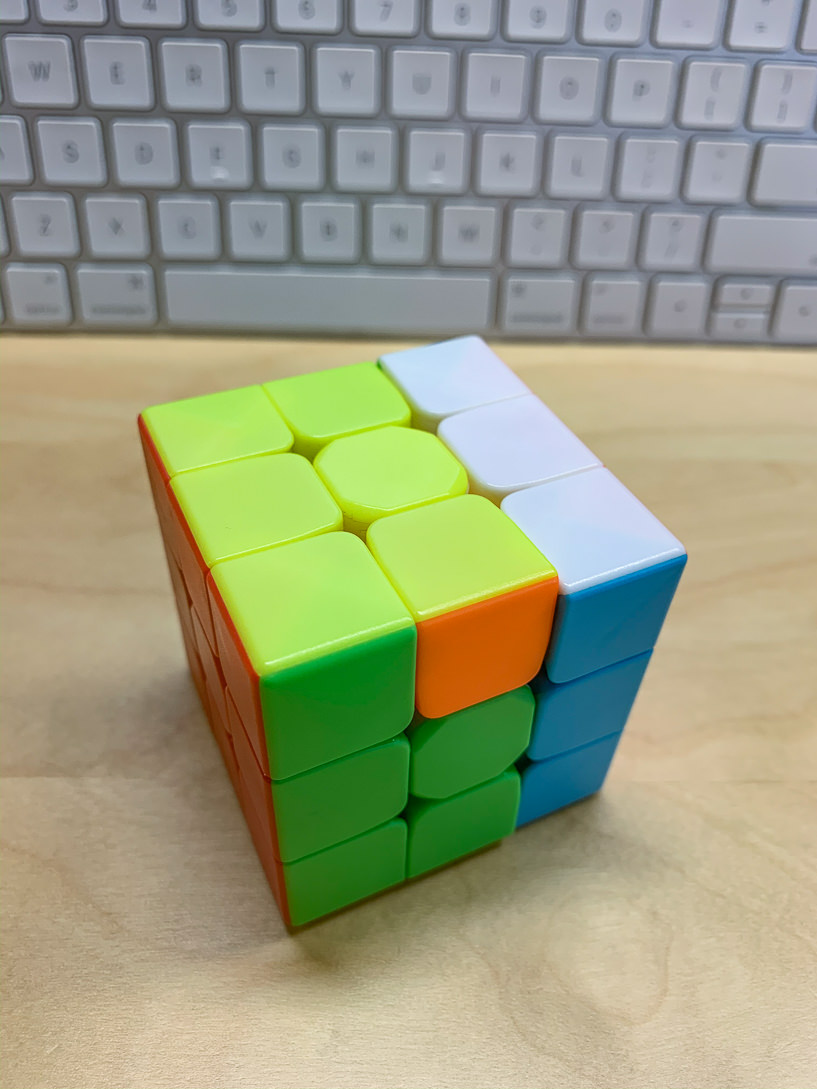
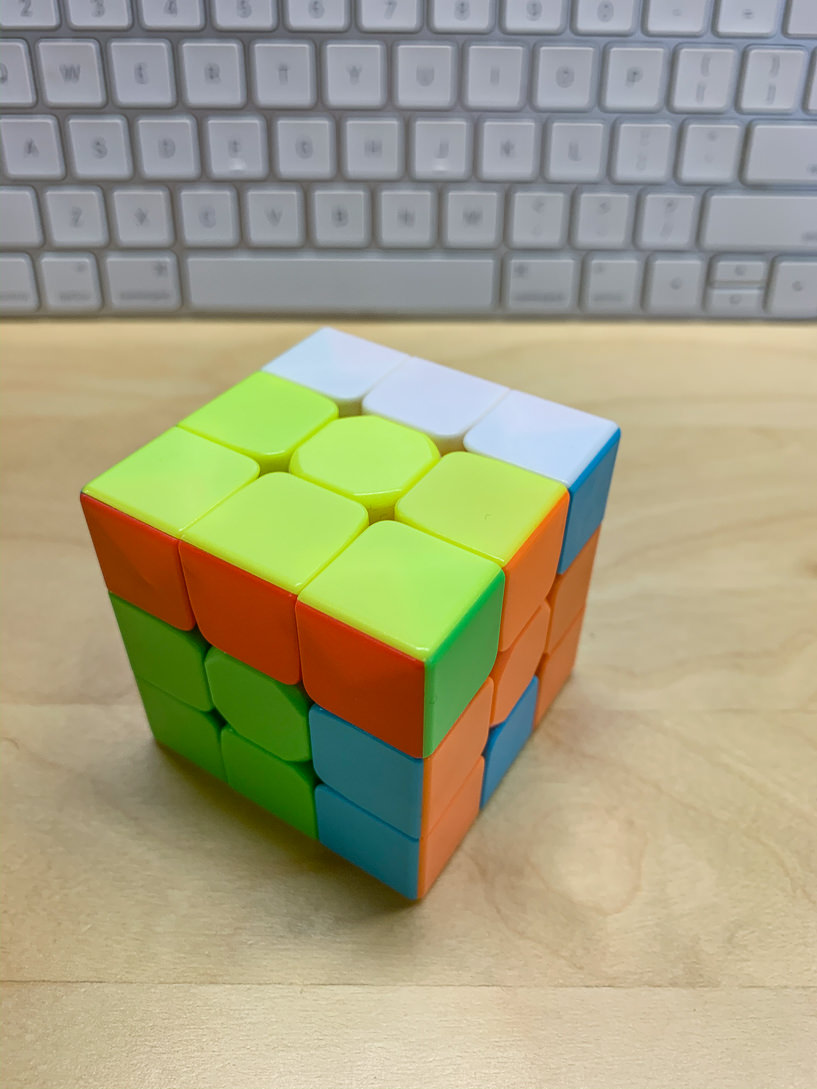
With the knowledge of the centers in mind, you’re ready to go. The next thing to do is to pick a color, we’ll choose white, and align the edge pieces. We call this ‘making the cross’. Be careful because there is a trap here. If you’ve never done this before, just getting the one side right doesn’t mean it’s right (See the white/orange and white/green edges below). Getting the edges successfully aligned means the edges match both the white side as well as the adjacent side’s center color. Getting ‘the cross’ in place is laying the foundation for everything moving forward.
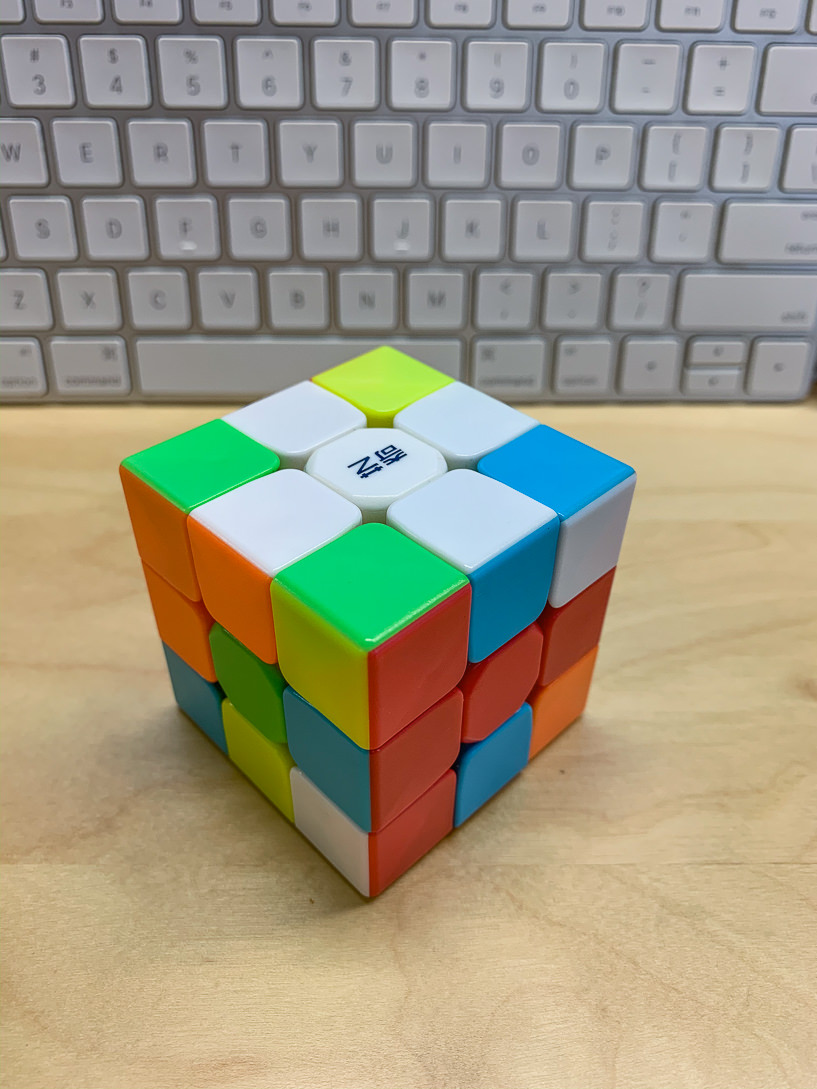
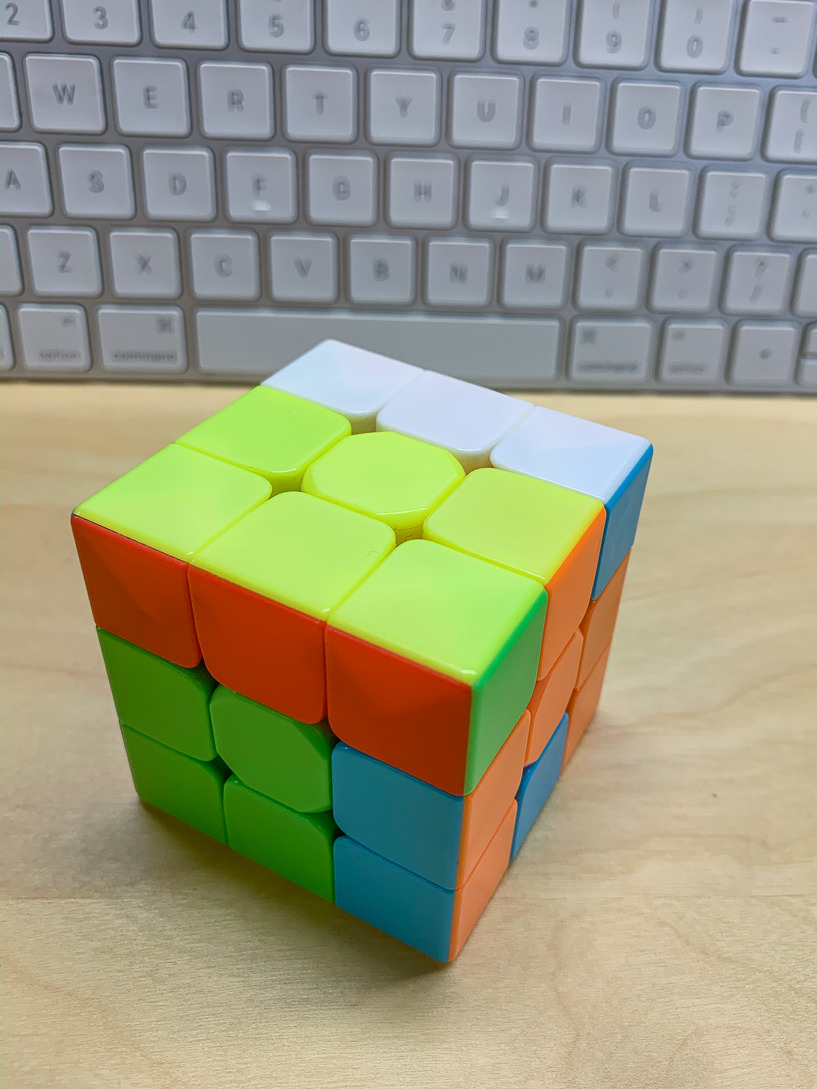
Edges aligned correctly. Edges aligned incorrectly
This is similar to how we prefer to begin a project—getting alignment between you and your Gaslight team. To do this, we like to run a discovery session (such as Story Mapping) with you in the first few days to understand your business, vision, user needs, limitations, and all the things surrounding the project that will directly or indirectly influence the risks and outcomes of the engagement. This acts as our foundation of knowledge for the rest of the project from which our shared understanding will grow.
Setup
The next task is solving the corner pieces for the white side. This step is largely orienting a corner piece on the bottom row with the white facing a side and lining the other side with the color of the center (blue in this example). There’s not a lot to it—get the cube into position, make a couple turns, then do it again for the next one. Once you get the hang of it, it’s pretty straightforward and you’re just going through the motions.
Turn the bottom side left, right side toward you, bottom side right, right side away
On your project, we’ll compare this to the no frills, necessary work that needs to be done for the rest of the project to succeed. This is setting up the deployment pipeline, CI tools, hosting, asset bundling, style guide, etc.
Rework, Refactoring, Learning
Now we can focus on the edge pieces on the middle row. Find the edge piece you want on the bottom row and locate where it needs to be in the middle row. Line it up underneath the matching color (the red and blue edge piece is positioned below the red center).
When dealing with the Rubik’s cube, we quickly learn that we have to purposefully and intentionally mess up the work we’ve already done in order to accomplish the next step. Using the moves below, we can align this edge piece next to the solved white corner, but it will be in the wrong spot. Using the moves we made in the “setup” step, we can get the white corner into its correct position again.
Sometimes it looks like you’re trapped in a corner until you realize you have to take a step back and temporarily mess up what you’ve already finished getting to the next step.
Turn the bottom side left, right side toward you, bottom side right, right side away. (Yes, it’s the same movement!!). Note how we had to “mess up” the top. But now when we fix the top using the previous steps, we’ve naturally fixed the middle edge piece.
As we’re working with you and writing code, we take the time to do things right, and sometimes that means reworking something we’ve already done. We learn more about your business and users every day and the code we write is a reflection of that. Despite how much we want to, we don’t have all the answers at our fingertips. What we build is often close to what we need, but not always 100% right, especially as we are learning new things along the way.
This is why we like to have a daily touchpoint and talk through what we’ve worked on each day. As we discuss what we’ve built, we’ll expose cracks in our understanding, then we can go back and tweak those things. Even though things appear right at first glance, talking about each feature as we build it ensures alignment along the way. This also lets us correct it before we build more on top of it. Occasionally this means we need to go back and take a different approach than we didn’t foresee. That’s a valuable thing to learn even though it is sometimes difficult at the moment. Like the Rubik’s cube, sometimes you have to take a step back in order to move forward.
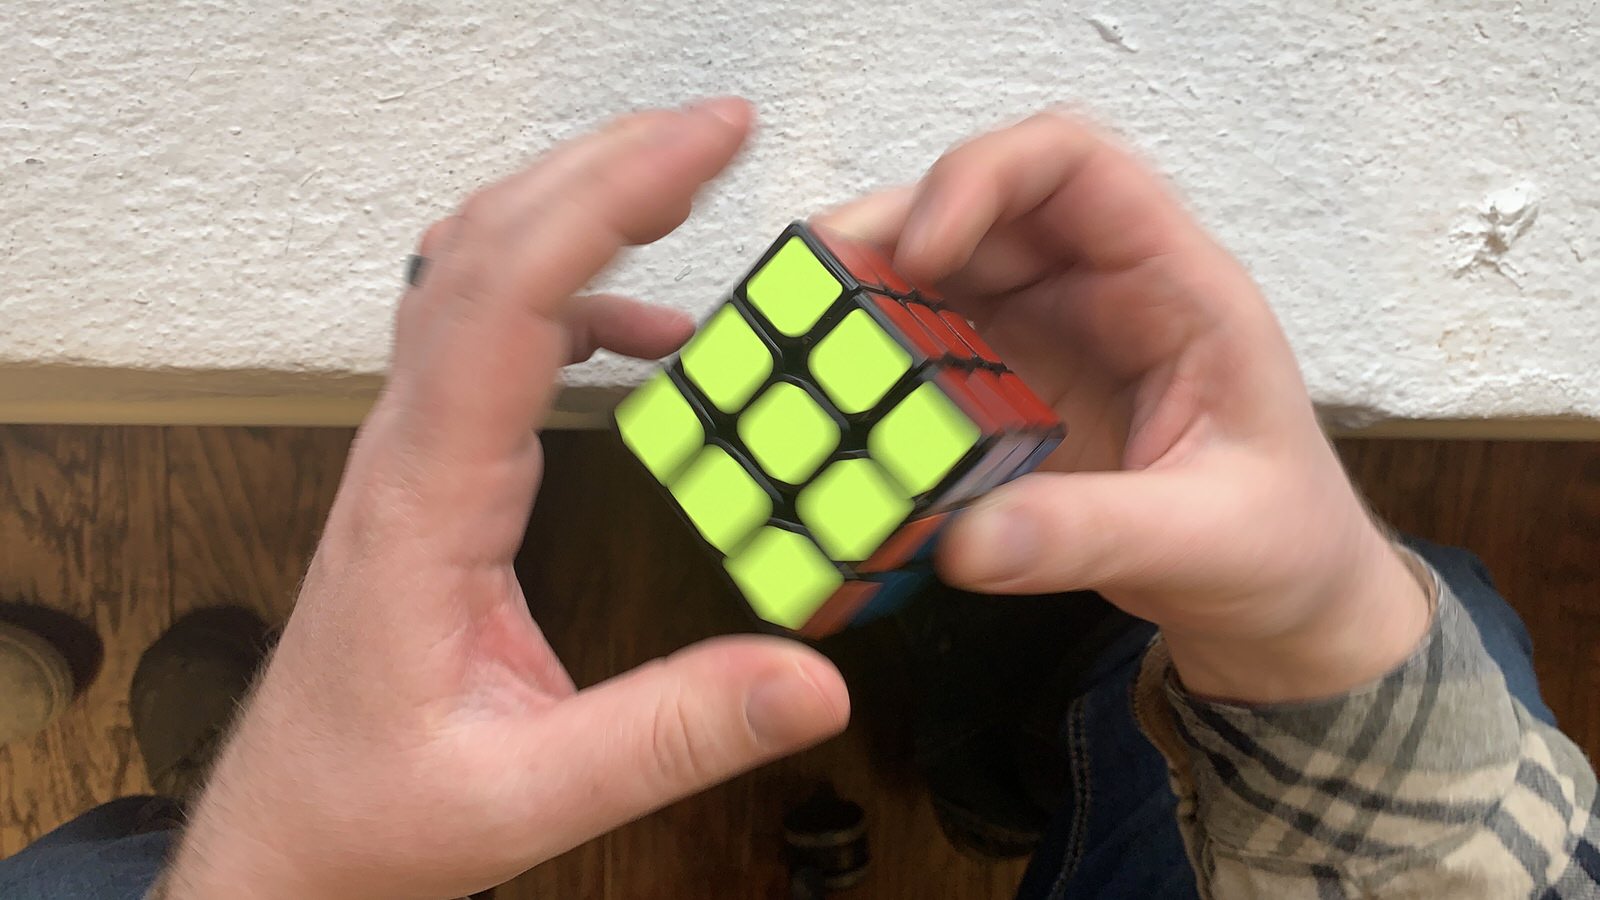
Twist, twist, twist.
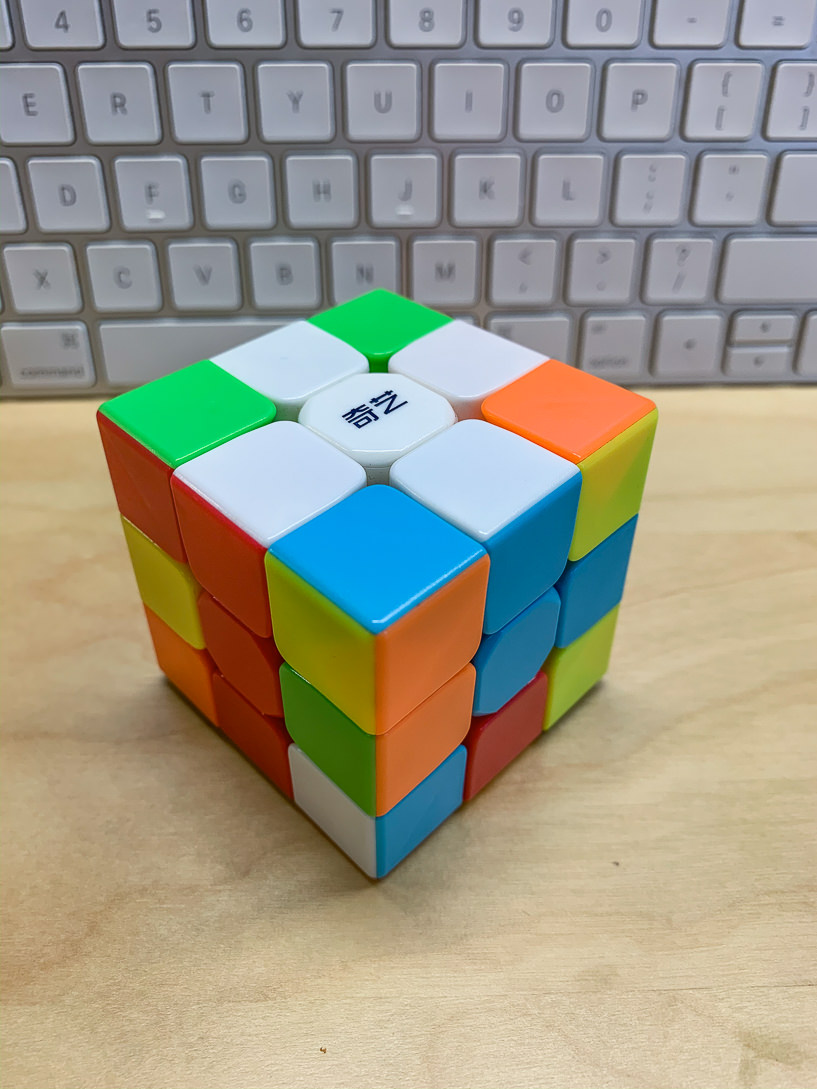
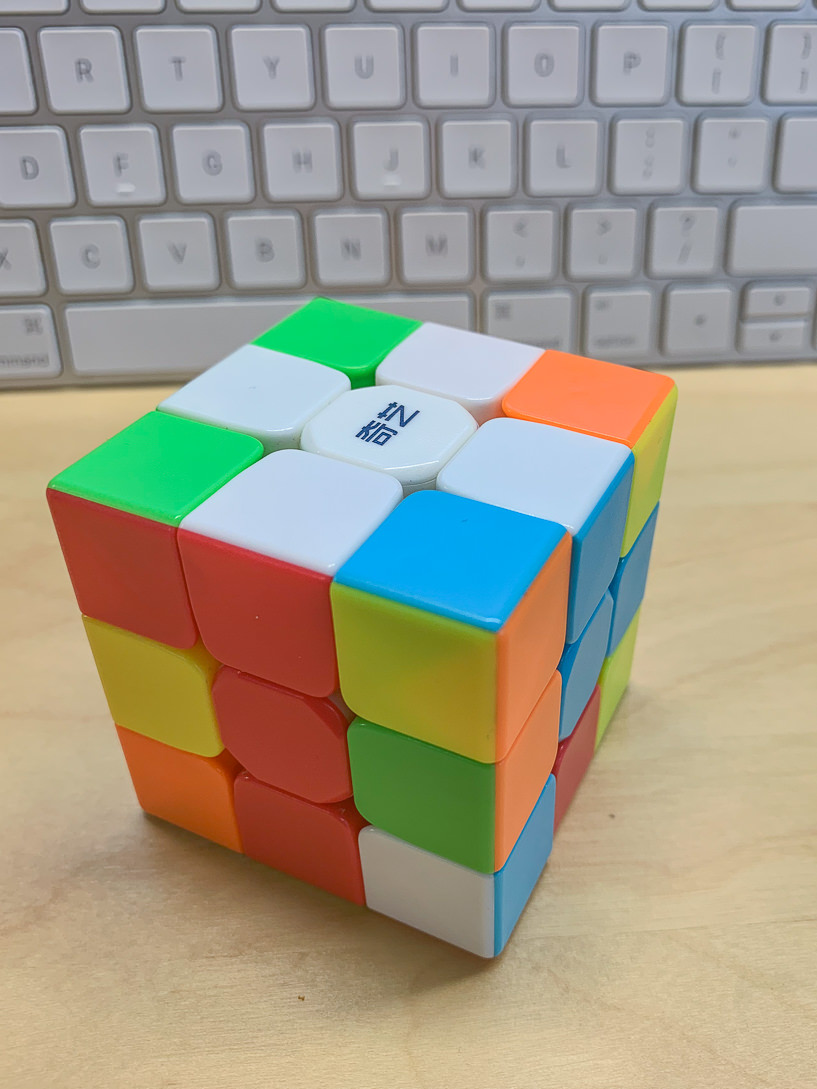
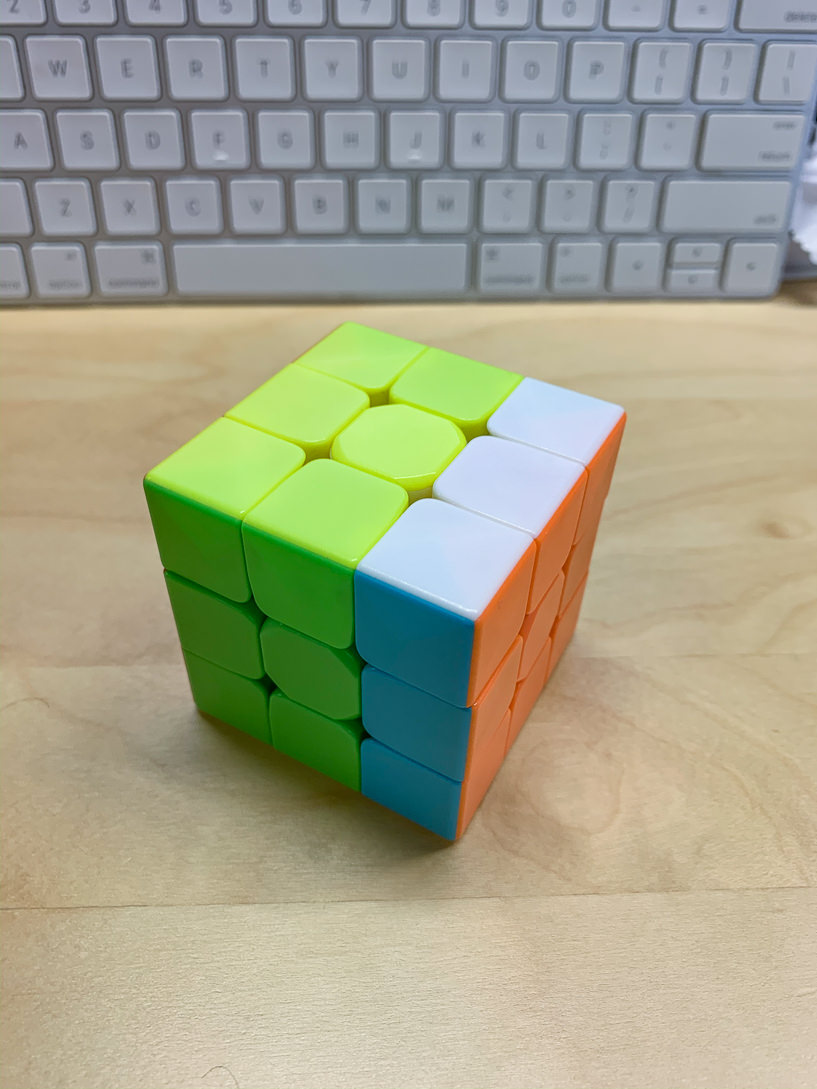
Now, with the top and middle rows done, we can focus on the bottom row. Keep in mind there are two aspects to this layer: the last color, in our case the yellow face, as well as aligning the edge pieces with the proper side colors. At this step, there are two main moves to make but they’re probably too confusing to write out. The strategy at this step depends on if there is a yellow cross or not. If not, you just keep doing the same move again and again until it is there. Once you have the cross, you complete another move until you have what we call “The Fish”. Once you have it, you only need to do the steps just 1 or 2 more times. Afterward, there’s a really complicated move to finish off the yellow side. Then there are just the edge pieces.
The Fish! Just the Edge pieces left
Sometimes work is just work. It’s not all exciting, new problems to be solved or a cool new utility—sometimes it’s just fleshing out what needs to be there. Meeting and discussing the work every day can get repetitive and feel like a grind. That’s constant progress. We’re on the lookout for “the fish”, constantly asking if we’re working on the right thing to accomplish the goal of this release and what gets us closer to that goal sooner. Even though it may start to feel like we’re making the same move over and over again, we’re always aware of the state of the project and knowing when and why to make the moves we make. Our daily touchpoint with you keeps us all on the same page.
Dot the T’s and cross the I’s
Let’s get those last few edge pieces in place. If all 4 edge pieces are in the wrong spot, you’ll have to do this last move twice. If there are only 3 edge pieces in the wrong spot, with a fancy twist and turn we can finish the cube.

Get the solid side on your left. Turn the right side twice, top to the left, the front and back to the right, turn the right side twice, turn the front and back to the left, turn the top to the left, and finally the right side twice.
Alright, let’s get this thing out the door! Time to polish it up! There are always a few last-minute things that we purposefully decided not to do earlier on so we could focus on the riskier parts of the application. Now it’s time to circle back and wrap those things up and get the last few pieces in place.
And that’s a wrap!
There you have it. A perfectly solved cube, right in line with your vision. But solving the cube once is not the end of the journey. There are a lot of interesting things you can do to create patterns, solve faster, solve whilst juggling, etc. There are even different shapes of cubes you could decide to tackle. The possibilities are endless!
The engagement is over, but the relationship is not and we are not finished. We may learn along the way that the original vision isn’t quite right and we may need to shift gears. Or maybe it needs to push just a little more. This may be due to user feedback, a changing market, technical limitations of third-party integrations, or numerous other things.